Monday, April 14, 2014

DIY LEOPARD CLUTCH

Italian designer Valentino has a studded leopard clutch to die for!  It's made of calf hair and leather with a canvas lining and the infamous gold pyramid studs. Retailing over $1600, one can only admire from afar.

JLo

Sannam and Style 
Are you thinking what I'm thinking Pinky? Take over the world? No, let's DIY our own Valentino.
We need supplies. Hobby Lobby here I come.  I bought a yard of leopard faux fur fabric and a yard of interfacing (interfacing provides added stiffness to flimsy fabric). The original clutch has a canvas lining, but I'm going to line mine with a silk lining that I removed from a shirt.


I cut (2) 14 X 9 pieces of the fabric and the interfacing and (2) 14 1/2 X 10 pieces of the silk. The lining will not be sewn with the fabric, because it will be loose inside the clutch.


I pinned the interfacing and fabrics together. 


Flipped it over and inserted and pinned the zipper.


Sew close to the teeth of the zipper. If the zipper pull is in the way, just pull it down.


Before sewing the interfacing and faux fur, pull the silk lining away. 


After I sewed the body of the clutch, I used a clip and tucked it inside, so I can sew the silk lining by itself.
Make sure you take the clip off before sewing all the sides of the lining.

                            
                          I forgot to and had to take a seam ripper and reach in and take it off.

                         ( I could have made it easier on myself by turning the clutch right side out and
                                   reached in and pulled out the lining and hand sewn it.)


Lastly, turn the clutch right side out. Notice how the lining gives it a professional polished look.


Maybe I'll add the gold pyramid studs later.


Thanks to Brandhyze from Frugal-nomics for the inspiration.

Monday, March 31, 2014

$10 BATHROOM MAKEOVER

My old vanity set has been through the ringer. It's not real wood, it's pressed board, also known as particle board and over the years, the laminated veneer that resembles wood has peeled off.  I considered replacing the set and then it dawned on me to just paint it.  Before I began painting, I spackled the worn spot on the bottom of the mirror and vanity and buffed the peeling veneer with sand paper for a smooth surface.


I went to my local Home Depot and purchased a quart of Rust-Oleum paint in flat black for only $8.46.


    It took no time painting the vanity.


After about 10 minutes, I put on a second coat.

  I covered the mirror and painted the frame.
(note to self: next time use painter's tape. The paper got stuck under the mirror frame)


I took down that speaker that was on the left and added a framed picture that I already had.
Here's the finished product.


Not bad for under $10!

Thursday, March 20, 2014

DO YOU TUTU? I DO!

If you wore a tutu, as a little girl, it was probably because you were either in ballet or played princess. Why would you want to wear one as an adult? Because you watched Sex and the City and saw Carrie Bradshaw wearing a tutu in the streets of Paris and New York.


And we can't forget the incomparable Marilyn Monroe in this ballerina photo. Classic!


Well, let's make one. All you need is 2-3 spools of Tulle available at Walmart, ribbon or elastic.
Carrie wore green and white, but mine will be black.


Take your measurements and add about 12 inches when cutting the ribbon, so you can tie a bow.
(so if your waist is 30 inches, cut the ribbon at 42 inches, you'll have six inches on each side.)

If you use elastic, subtract 3-4 inches from your measurement.
(so if your waist is 30 inches, cut the elastic at about 26 inches because it will stretch)


Next place the tulle at your waistline and see how long you want it. I cut my tulle 36 inches long so when I fold it in half, it will be 18 inches long, right above my knee.


I was able to cut 24 strips from one spool of tulle. I ended up using 2 1/2 spools, so that's about 60 strips of tulle.


I tied the ribbon around my home office chair (find something wide and sturdy) and folded the tulle in half and slipped it under the ribbon.


Created a loop with one hand, while holding the ends.


Grabbed the ends with the same hand and pulled through the loop.


Pulled the ends to tighten the knot.


Repeated this process all around.


Here's the finished product.


I ended up taking all the strips off the ribbon and remade it using 3/8 inch elastic.
Elastic was better, because I didn't have to worry about keeping the knot tight.

Monday, March 17, 2014

GRANDMA BRENDA'S POT ROAST

Did your Mom or Grandma ever cook something and you always wanted the recipe? But you never got it, because it wasn't written down. She eye-balled the measurements. A little bit of this, a little bit of that. She just cooked it.Well, my Mom always made pot roast and never taught me how to make it. It took my daughter living with my Mom in North Carolina for this recipe to be finally passed along.

INGREDIENTS:


Beef Round Eye Round Roast
8 Medium potatoes
2 Green peppers
1 Big onion
Minced garlic *optional*
Seasoning salt
Olive oil
Pepper
Salt


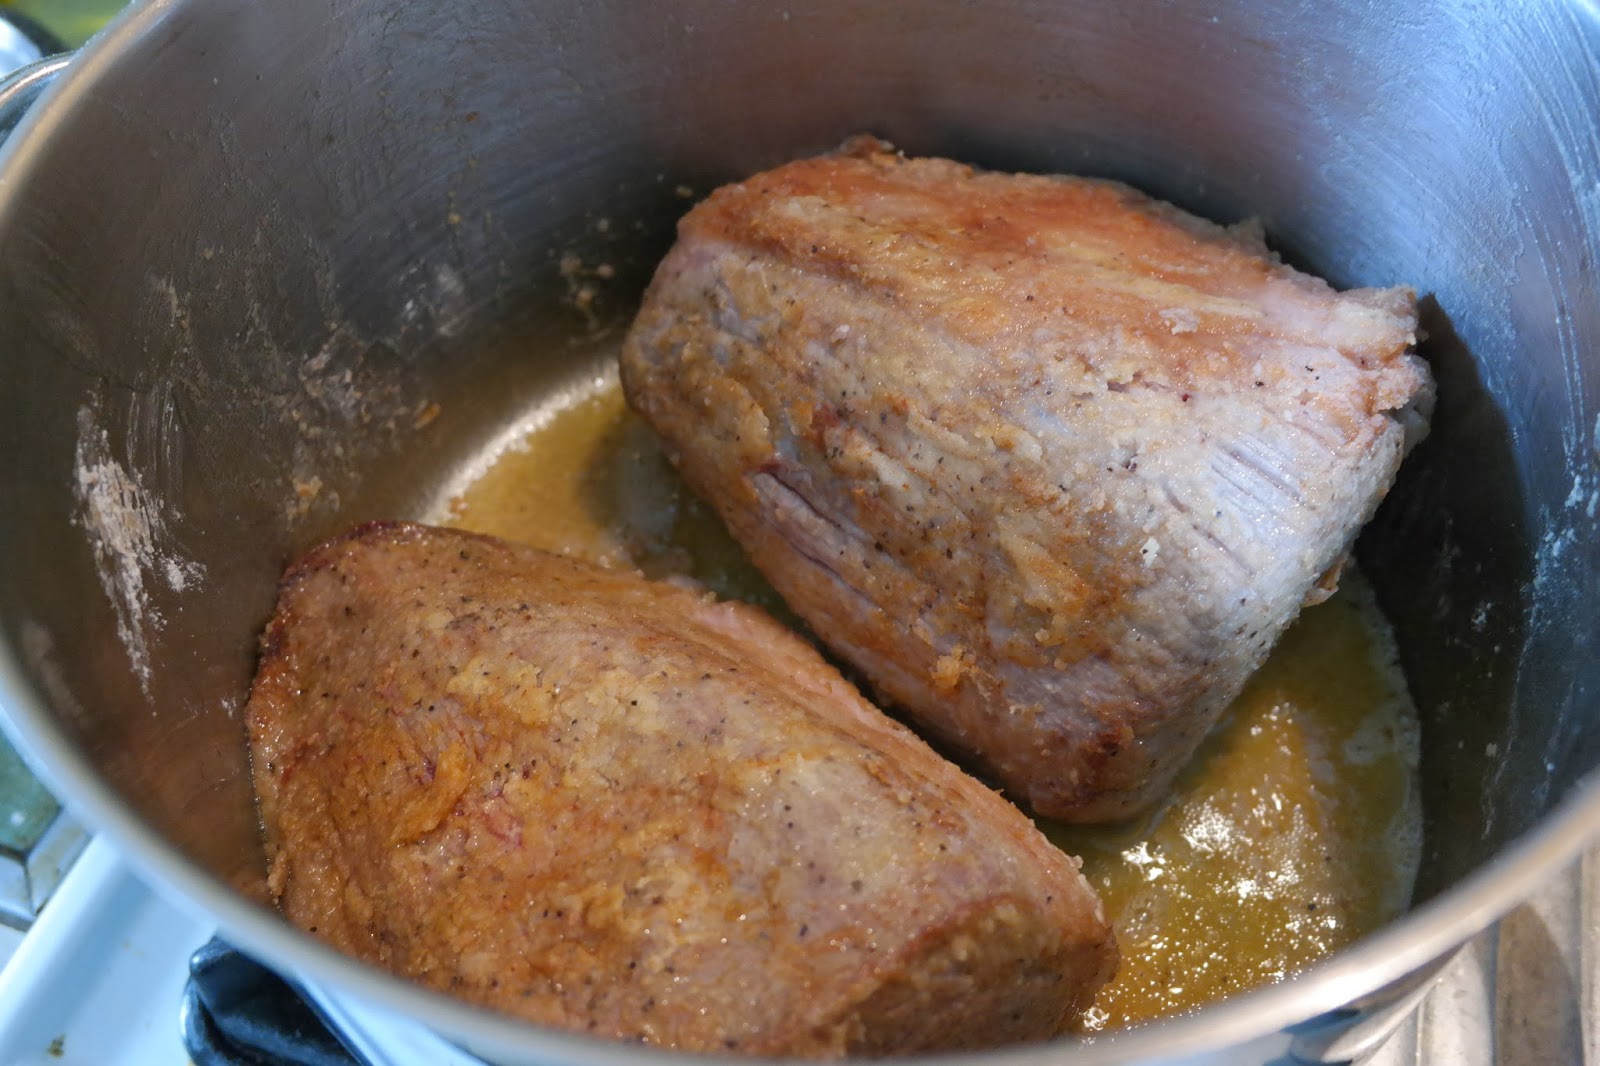
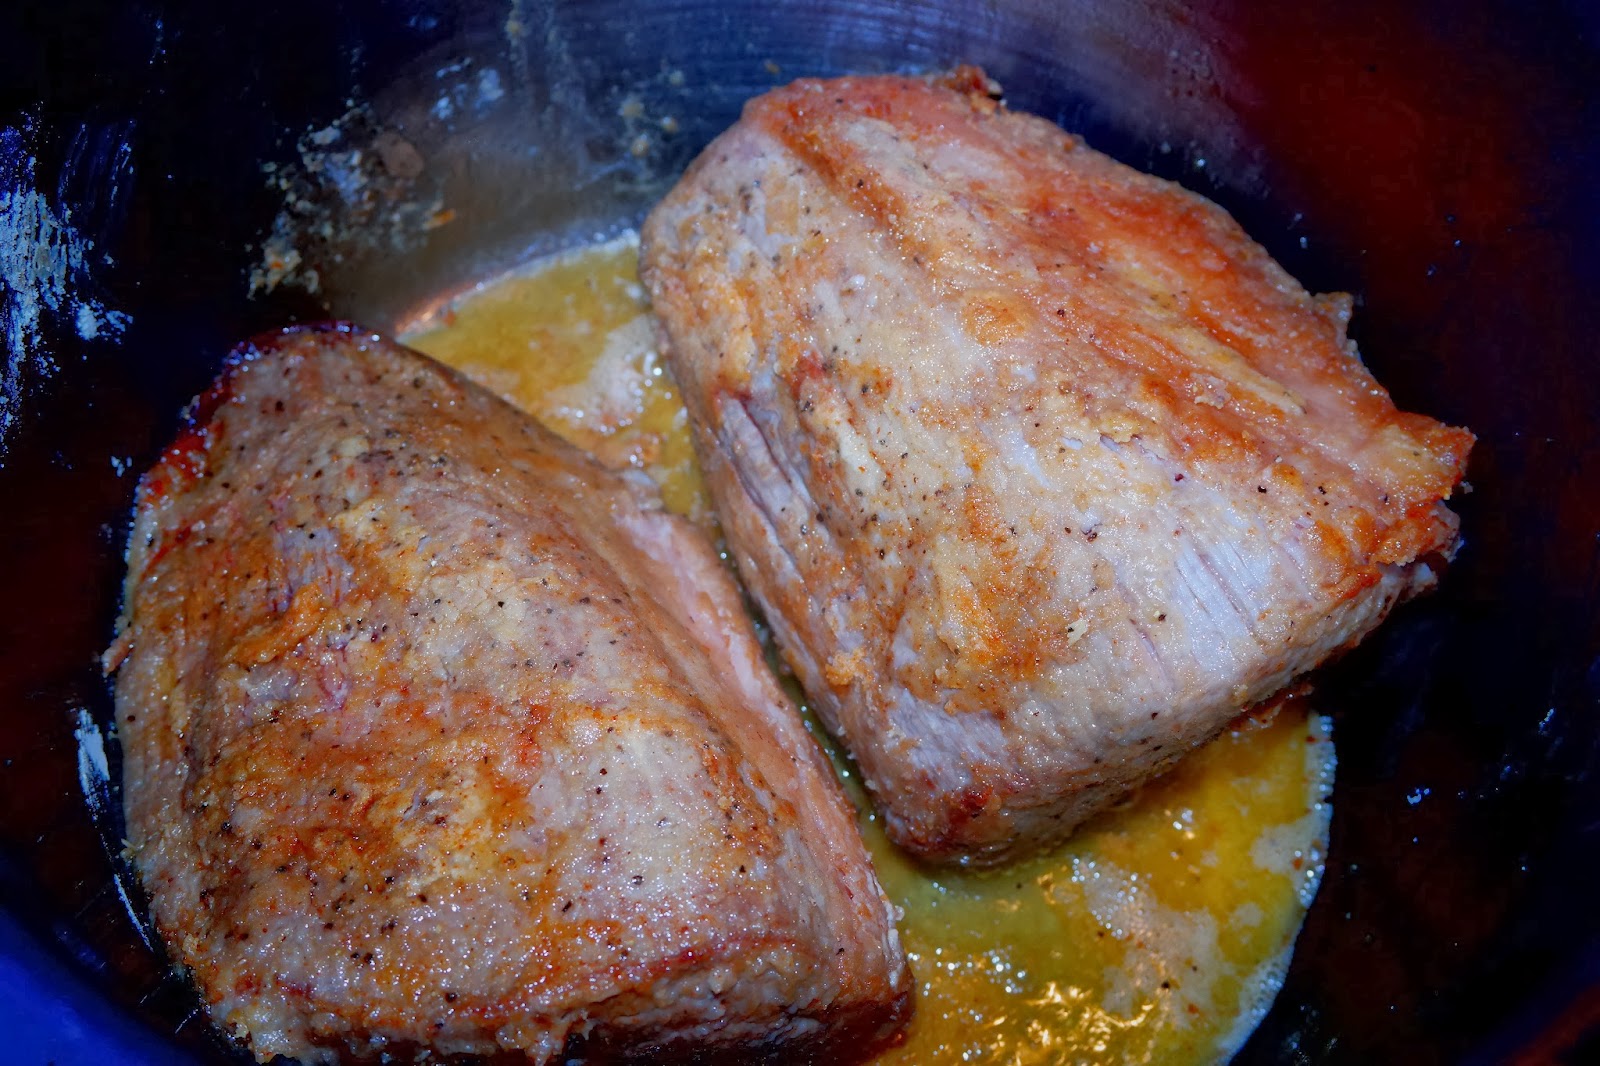
And the same way, our Moms just cooked it, was the same way my daughter started. (read: I didn't photograph it). That being said, she took the meat from the package and poked holes in it with a fork and seasoned with salt, pepper and seasoning salt. Lightly dredged the meat in flour seasoned with salt, pepper and seasoning salt.

Add enough olive oil to a big stock pot to just cover the bottom, add meat and heat on medium to high.


Turn meat on all sides to get a nice sear.


In a separate pan, brown seasoned green peppers and onions. This is where the optional minced garlic comes in. My mom doesn't use it, but my daughter does.


After meat is seared, add water, but don't fully cover meat. Cover and bring to a boil on high heat.


Next, add green peppers and onions and reduce heat and let simmer for 2 hours.


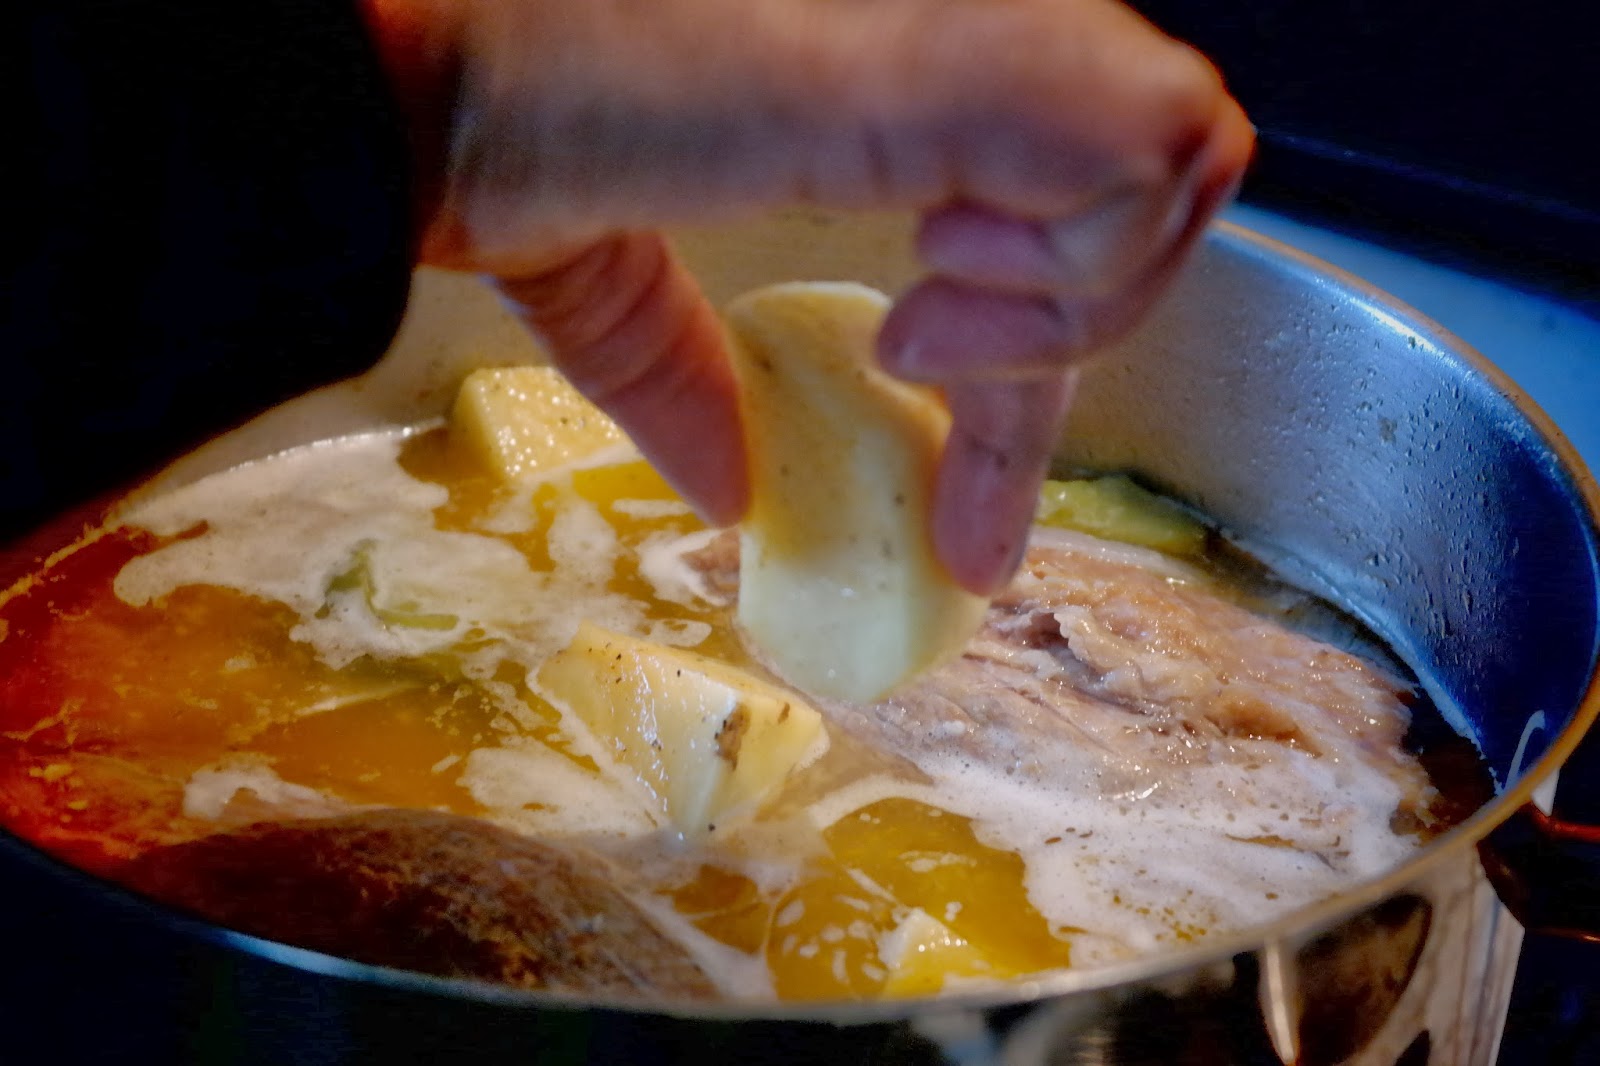
Quarter and season potatoes with salt, pepper and seasoning salt.


Add potatoes one by one and let cook covered for 2-3 more hours.


When potatoes are fork tender, pull apart meat and allow it to absorb the juices.


I bought a prepared loaf of garlic bread to accompany this meal along with some sweet corn.


Mangia! Mangia!  


Left overs are always better on the next day. I buttered two hard rolls and put them in the oven for about 10 minutes, heated up the meat and potatoes and made a "steak sandwich".  To die for! The juices from the meat soaked into the rolls, OMG!!  Dang it, looking at the picture, I shoulda put my potatoes on the sandwich! Next time....


Monday, February 24, 2014

YOU BETTA WERK!

Tiffany of The WERK! Place is one of my new favorite fashion bloggers. She is a mix master of prints and textures. Check out her craftsmanship...


I was so inspired by this look, that I tried to replicate it. I even tried to pose like her.

#nailedit


Added the necklace to mirror her shirt.