Showing posts with label DIY. Show all posts

Monday, July 28, 2014

DIY THROW PILLOWS

Remember the chevron and paisley pillows from the Cheap Bedroom Makeover post?


Here's the easy tutorial.

Materials:  1/2 yard of fabric and (2) old pillows


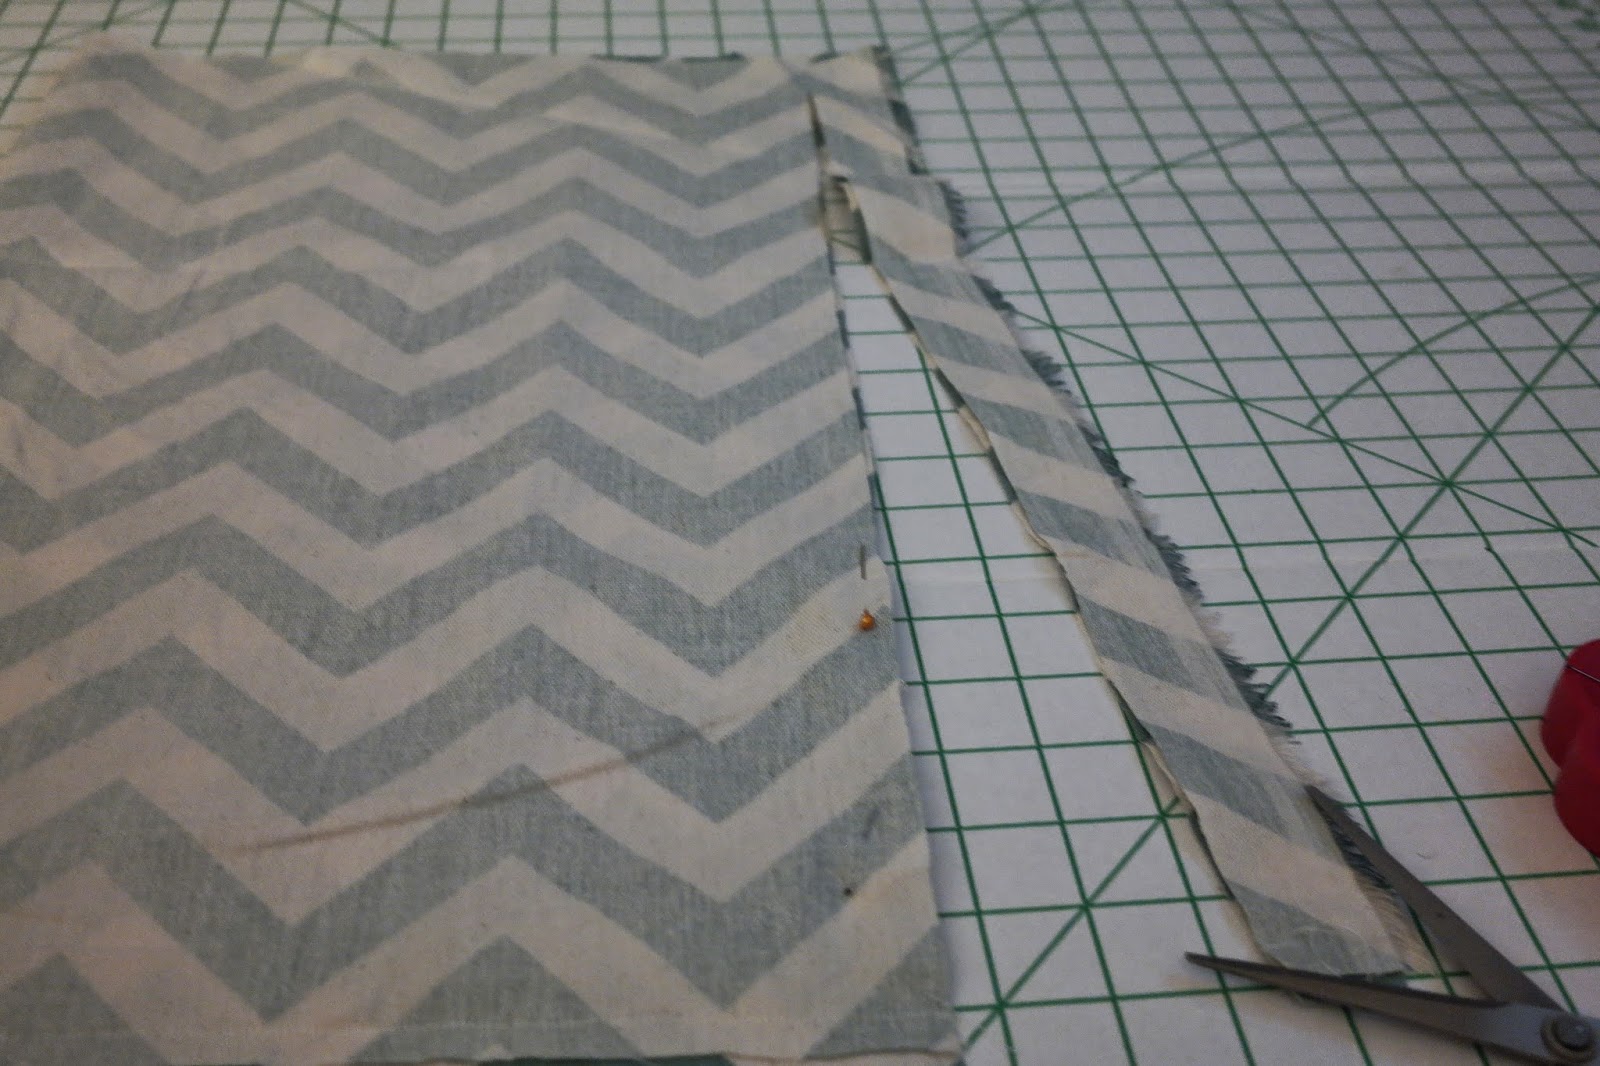
Turn fabric inside out. Fold and insert pillow. Pin and cut off excess fabric.


Leave 1/2 inch seam allowance. See example:

(*not my finger)
Remember, you will only sew the (2) sides.
Keep the sewing machine foot close to the cut edge of your fabric.


After sewing the 2 sides, turn right side out and insert the pillow.


Cut off excess fabric and tuck the rough edges inside and pin.
Hand sew the last opening.


Using a needle and thread, start in the corner and sew the opening close.
It took me about 10 minutes to hand stitch it.


Voila!


Repeat steps.


Friday, July 25, 2014

REPURPOSED PICTURE FRAME

Remember this post when I framed iconic designers for my dresser top?  Well, my perfume bottles are kinda just there. Not bad, but not great. I was in Unique Thrift Store and saw this gold picture frame and instantly thought perfume/vanity tray. And the best part, it was only $1.49!


At first, I took the backboard off, but the glass seemed loose, so I put it back for support.
Then, I just flipped it over and cleaned the glass.
VOILA!
What a great way to repurpose the frame into a vanity tray?


Notice the intricate filigree detail.


Recycle Reuse Reduce

Thursday, July 10, 2014

REPOST: DIY CHAIN RING BRACELETS

While shopping on vacation in Myrtle Beach, I purchased a chain ring anklet for my daughter. It retailed for $14.99. Now, she didn't try it on until we got back home, and when she did, the chain around the toe came loose. I'm thinking I wasted my money, I can't return it, I shouldn't have bought it.


After fixing it, I told her to just wear it on her hand. But it was too big , because it was meant for a foot. I go online to see what was the going rate for chain ring bracelets. I check Etsy and I saw these.


They are charging $24 to $59 for a simple design. Because I spent almost $15 for a anklet that came apart, I knew I had to try and make one.

I got my pliers, "O" rings, and two gold rings and chains from an old necklace.


I measured the lengths on my daughter's hand and then laid out the design.


I attached each chain with the "O" rings.


Make sure you measure carefully before assembling the bracelet, because the chain that connects the ring part to the bracelet was toooo long and I had to shorten it and reassemble it. After trial and error, which is the mainstay of DIY, I'm proud to present the finished product.


Wednesday, July 9, 2014

TUPAC IS BACK!

Have you ever ordered a shirt, paid for shipping, waited and tracked the package only for it to be too small? My son ordered this shirt online in a large, but it was too small.  Well, I have a solution. And since, Tupac's image is on the front and back of this shirt, I could make 2 shirts from 1.


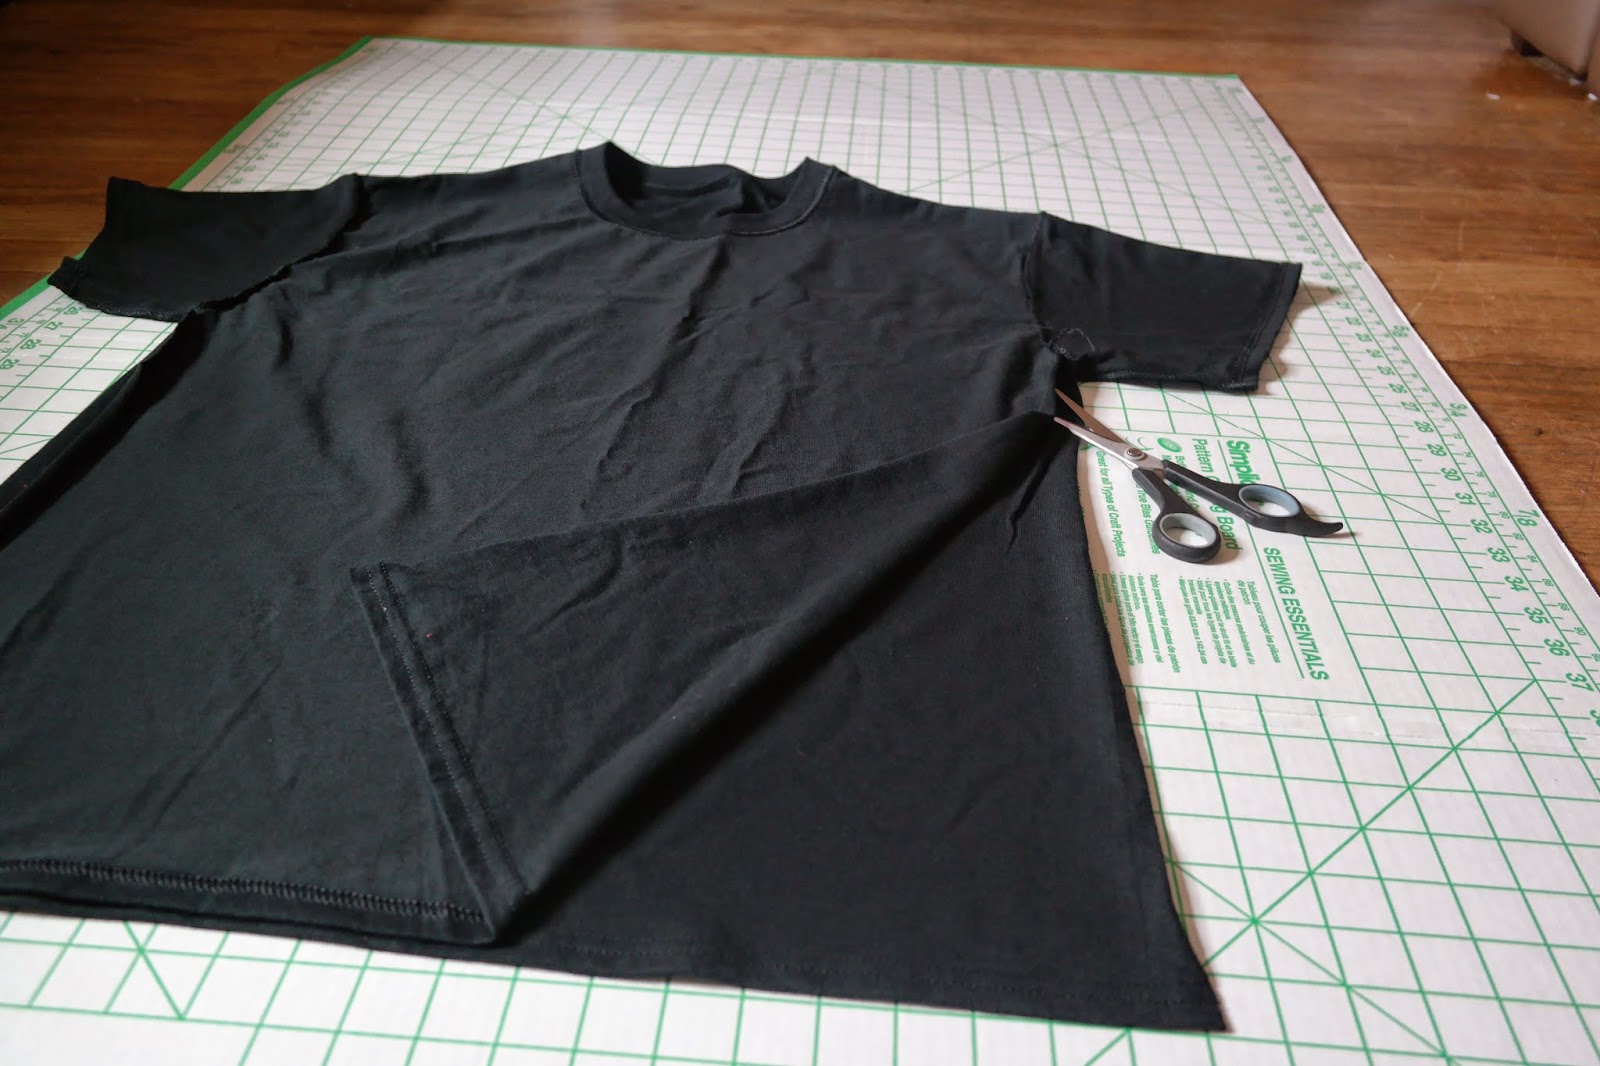
I went to A.C. Moore and bought this plain black tee in large. I'm going to take off the front of the graphic shirt and take the back of the black tee and sew them together.


I turned it inside out and used a seam ripper to remove the thread.
Make sure the sleeves stay attached to the front of the shirt.


This took a while, so I suggest sitting on a comfy couch or chair, because it's very tedious.


Since the graphic shirt took so long, I used scissors to separate the black tee.


Since the tee is a large, when sewn together, you'll get that extra room to fit, and the tee has a little stretch.


I laid the smaller graphic on top, pinned the shoulders and sleeves and continued down the sides.
You can see here, that the black tee will be longer in the back.


VOILA!


The shirt fits and has room to spare.


I repeated the same steps with the back of the shirt, but this time I cut off the sleeves of the black tee to make a tank top. You can really see here the extra material you'll have.


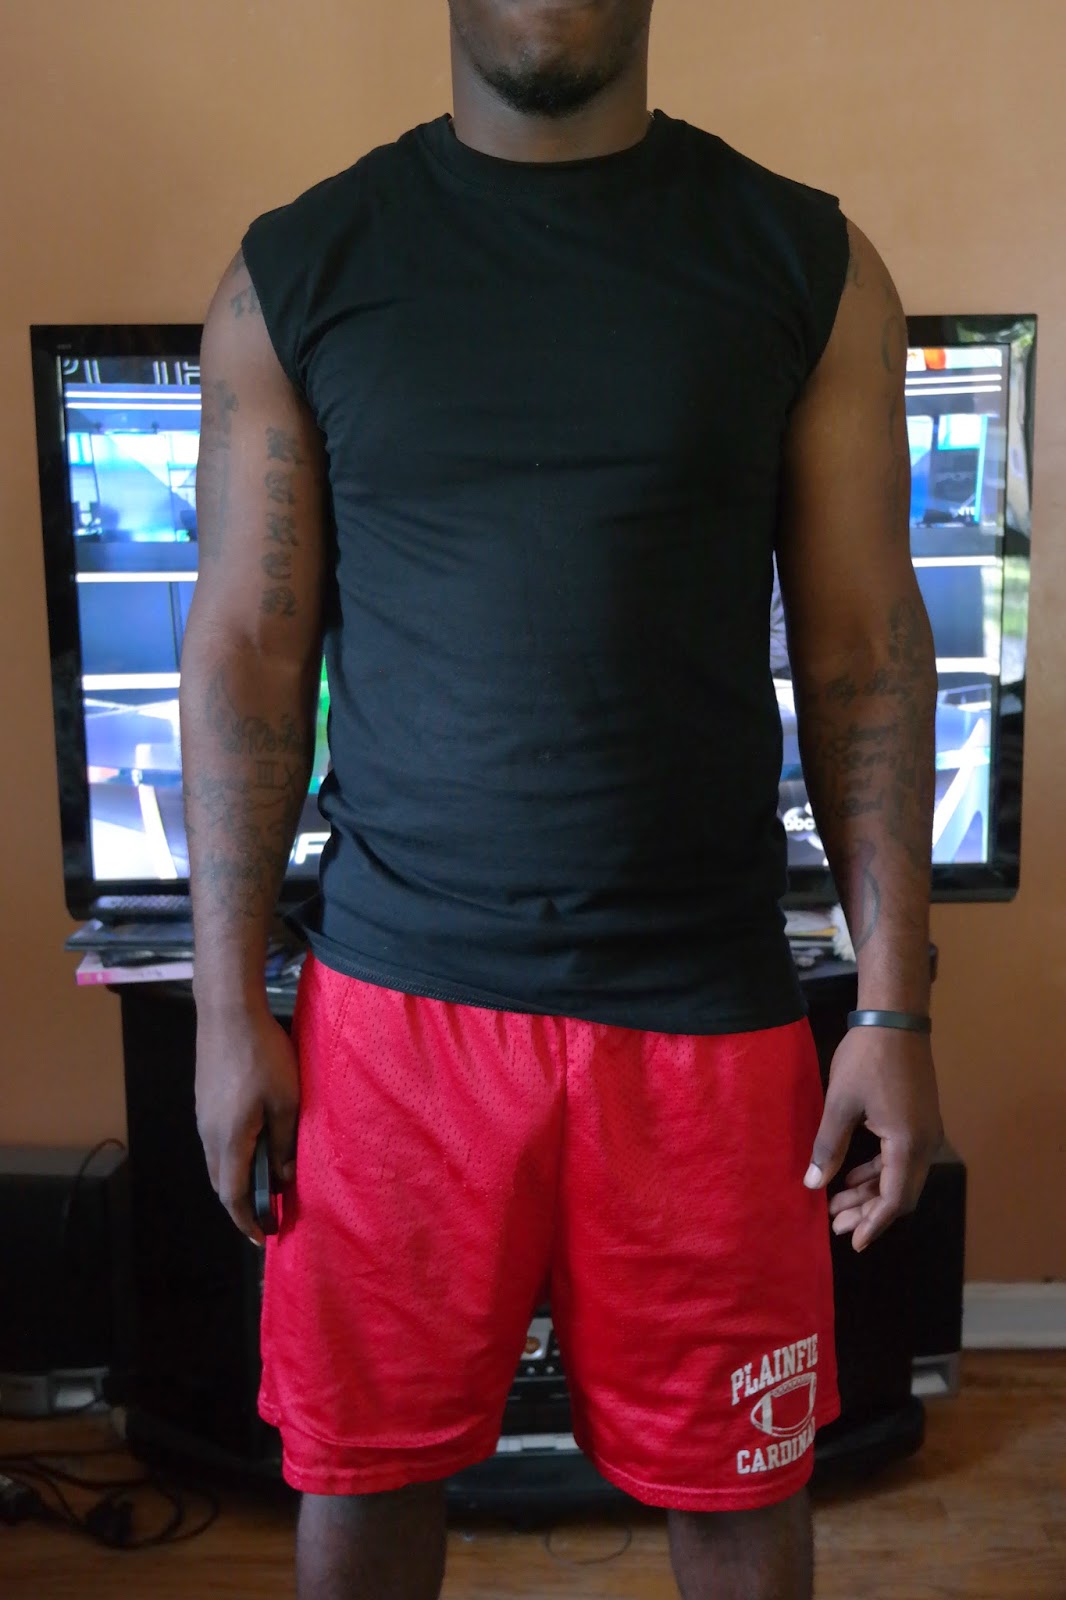
One thing though, the black tee was long in the front. My son wasn't too beat for a tank top.


 He said, "Ma, I don't like it with Tupac on the back." So I cut the collar out and turned it around.
It's mine now with Tupac in the front.

Wednesday, May 14, 2014

DIY VALENTINO ROCKSTUD LEATHER CLUTCH


Remember when I made the DIY leopard clutch in this post? Well, I'm back at it, this time with leather and studs. Valentino's clutch is available at Neiman Marcus retailing for $1,345 and is on back order. But mine is less than $15 and will be available as soon as I make it.
I purchased 1/2 yard of faux leather at Hobby Lobby for $5.99. Bought 200 12mm studs from largedepot on Ebay for $4.19 and the lining will be from a pair of silken pants that ripped.


I bought these "hard to find in the stores" 14 inch gold teeth zippers from ZipperShop on Etsy for $6.50. 


I cut (2) 14 x 9 1/2 inches of the leather and (2) 14 x 10 inches of the fabric.


Next, I used a ruler and penciled a mark every 1/2 inch for stud placement.


Then I just pushed down each stud, flipped it over and used small pliers to fold over the prongs.


I pinned the zipper to the leather and lining. When sewing, line the sewing foot close the zipper teeth.


Repeat on other side.


Flip it over and bunch up the lining, because it will be sewn apart from the leather.


 Pin and sew


After you're finished sewing, cut off the corners, because when you turn it right side out, the corners will be more defined.


Turn it right side out and pull out the lining. You can either hand sew this or on the machine. I used the machine.


Here's the finished product.

Adding a graphic lining adds a professional finished look.


Rockin' my clutch @ work!